Thursday, January 28, 2010
Install Day 2
Finally found the time and weather to work a little more on the truck.
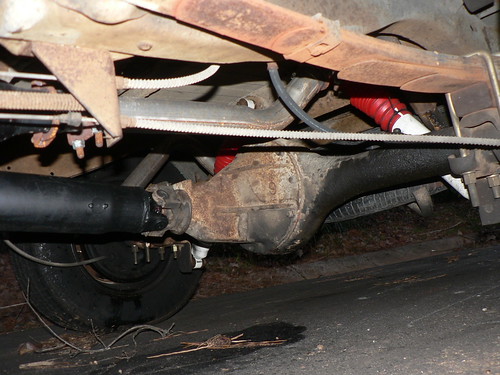
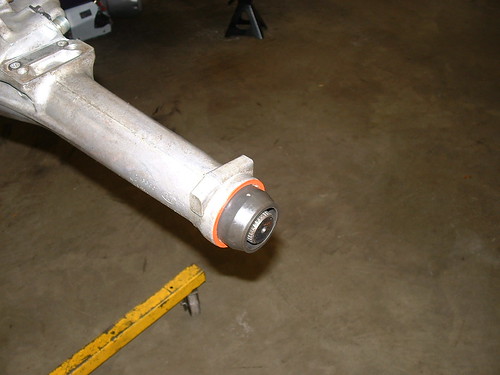
Got the drive shaft installed. Clearly the axle has not had the same R&R as the rest. I think after I get it running again my next thing will be to change gear sets (from 2.73 to around 3.23) and clean this up a lot. I obviously have a wheel cylinder or axle seal leaking on that far side as well (I think it is the axle seal).
I got the torque converter attached to the flex plate. The directions on the torque converter suggest I need 1/16 to 1/8" between the flex plate and the converter when the converted is shoved all the way back. I've got less than 3/16 but more than 1/8." I think I'm going to call Turbo Action to see how critical this really is. I can always add the washers they call for but attaching the flex plate and torque converter is a real PITA to do by yourself (crawl under, check for access, crawl out, turn crank, crawl under, install one bolt loosely, crawl out, turn crank 90*, crawl under, drat, went to far, crawl out.......).
Got the starter installed. I can't say I'm a huge fan of the starter. It works well. I was in a hurry when I got it (about 3 years ago) and I live like 30min from Summit. I didn't know about the conversion to the modern LA starter at the time. The bottom stud is very difficulty to reach and is never really all that tight. This, of course, will turn over a high compression race engine...but I don't have one of those. Lesson learned.

I made a number of the other "on my back" connections today as well. That included the speedo cable, shift linkage, throttle pressure linkage, trans cooler tubes, neutral safety, and trans dust shield. The one thing I did run across though, and I knew it was something of an issue already, is that the trans is pulled really far forward (and the engine sits in its mounts all the way back) such that the trans isolator is really stretched.
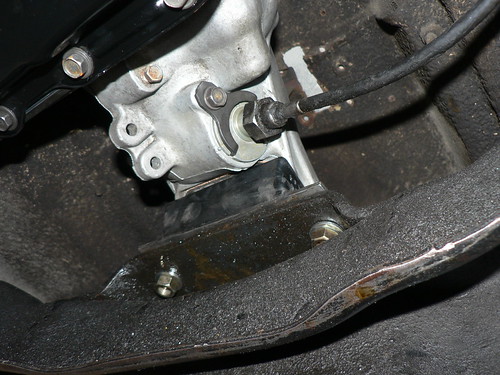
I really don't know what to do about this. It was like this before the "new" engine as well. I had what were clearly homemade engine mounts before and I hoped getting the right mounts would fix this issue. It hasn't. I am confident I have the hard mount and isolator on the engine in the right location. But I don't know about this thing. It doesn't look like there is a wrong way to install this but something ain't right here.
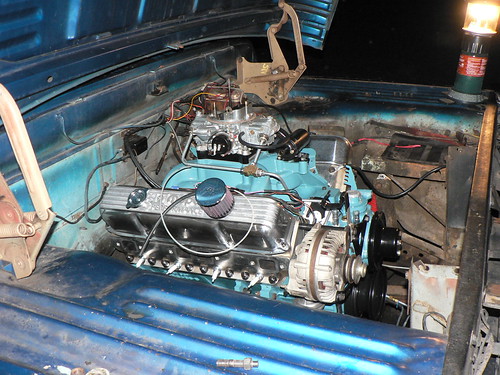
I also test fit my shorty headers and they hit the new bigger engine mounts. I used these headers before with the homemade mounts and they cleared just fine. ...I've got my buddies welder. I'm reeeeaaaaalllllly tempted to try to make up my own set of long tube headers and redo about 1/3 of the exhaust system. At the same time, I reeeeeaaaaallllllllllllllllyyyereallllllllyyyyyyy want to drive this thing again.
Got the drive shaft installed. Clearly the axle has not had the same R&R as the rest. I think after I get it running again my next thing will be to change gear sets (from 2.73 to around 3.23) and clean this up a lot. I obviously have a wheel cylinder or axle seal leaking on that far side as well (I think it is the axle seal).
I got the torque converter attached to the flex plate. The directions on the torque converter suggest I need 1/16 to 1/8" between the flex plate and the converter when the converted is shoved all the way back. I've got less than 3/16 but more than 1/8." I think I'm going to call Turbo Action to see how critical this really is. I can always add the washers they call for but attaching the flex plate and torque converter is a real PITA to do by yourself (crawl under, check for access, crawl out, turn crank, crawl under, install one bolt loosely, crawl out, turn crank 90*, crawl under, drat, went to far, crawl out.......).
Got the starter installed. I can't say I'm a huge fan of the starter. It works well. I was in a hurry when I got it (about 3 years ago) and I live like 30min from Summit. I didn't know about the conversion to the modern LA starter at the time. The bottom stud is very difficulty to reach and is never really all that tight. This, of course, will turn over a high compression race engine...but I don't have one of those. Lesson learned.
I made a number of the other "on my back" connections today as well. That included the speedo cable, shift linkage, throttle pressure linkage, trans cooler tubes, neutral safety, and trans dust shield. The one thing I did run across though, and I knew it was something of an issue already, is that the trans is pulled really far forward (and the engine sits in its mounts all the way back) such that the trans isolator is really stretched.
I really don't know what to do about this. It was like this before the "new" engine as well. I had what were clearly homemade engine mounts before and I hoped getting the right mounts would fix this issue. It hasn't. I am confident I have the hard mount and isolator on the engine in the right location. But I don't know about this thing. It doesn't look like there is a wrong way to install this but something ain't right here.
I also test fit my shorty headers and they hit the new bigger engine mounts. I used these headers before with the homemade mounts and they cleared just fine. ...I've got my buddies welder. I'm reeeeaaaaalllllly tempted to try to make up my own set of long tube headers and redo about 1/3 of the exhaust system. At the same time, I reeeeeaaaaallllllllllllllllyyyereallllllllyyyyyyy want to drive this thing again.
Sunday, January 24, 2010
Install Day 1
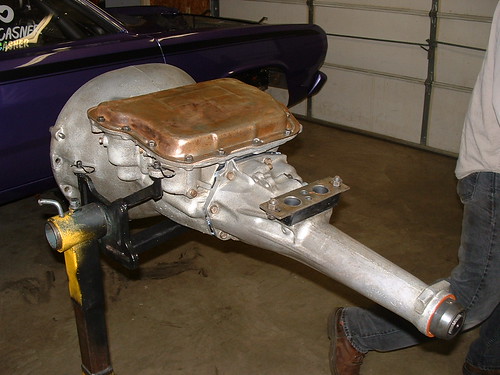
Engine and trans are in. Still have a ton of work to do.
Unfortunately, install day 2 will have to hold off for awhile because of rain.
Unfortunately, install day 2 will have to hold off for awhile because of rain.
Wednesday, January 20, 2010
Final Build Day
Thursday, January 14, 2010
Another truck engine day
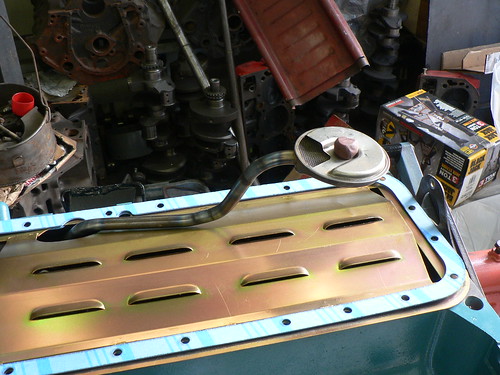
The oil pan drain plug attachment in my oil pan was brazed in when I got it and in beating the pan back into shape caused the brazing to break. We brazed it back together and then I sanded down and repainted the damage to the paint from the heat.
The rear sump pickup tube hit my windage tray preventing me from getting it spun around to the right location.
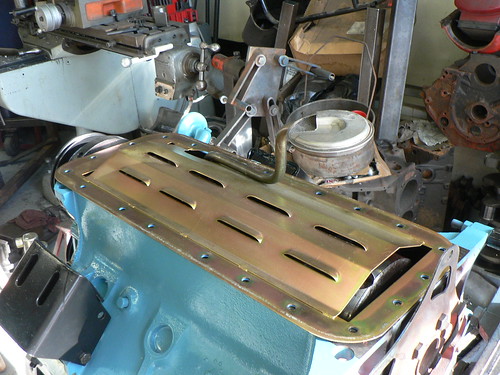
We did a little heating and bending and got it all to fit.

Put some clay on the pickup and placed the pan to make sure I had proper clearance.
Good to go. Just need to bolt down the pan and cut the holes in the valve covers for the breathers. This sucker is almost ready to install!
The rear sump pickup tube hit my windage tray preventing me from getting it spun around to the right location.
We did a little heating and bending and got it all to fit.
Put some clay on the pickup and placed the pan to make sure I had proper clearance.
Good to go. Just need to bolt down the pan and cut the holes in the valve covers for the breathers. This sucker is almost ready to install!
Tuesday, January 12, 2010
1st Day
Today is the first day of teaching for me for this semester. Keep your fingers crossed that this is actually a good class.
I wish the class wasn't this early in the day. I'm not even awake yet.
This, however, is the last class I have to teach at Tech!
I wish the class wasn't this early in the day. I'm not even awake yet.
This, however, is the last class I have to teach at Tech!
Sunday, January 10, 2010
Drat!
Found a nice little surprise in the drive shaft when I went to replace the u-joints.

This'll be going to the drive shaft shop for an opinion at the very least and likely a repair.
This'll be going to the drive shaft shop for an opinion at the very least and likely a repair.
Tuesday, January 05, 2010
Transmission!
Got the trans finished a few days ago and finally have time to post the pictures.
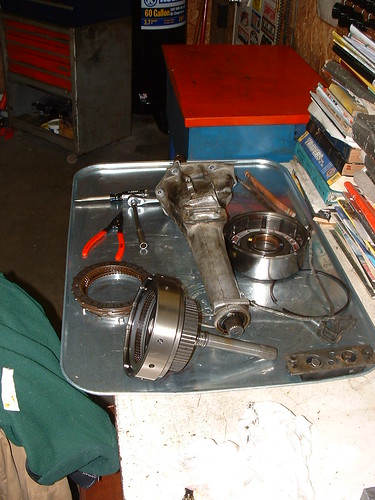
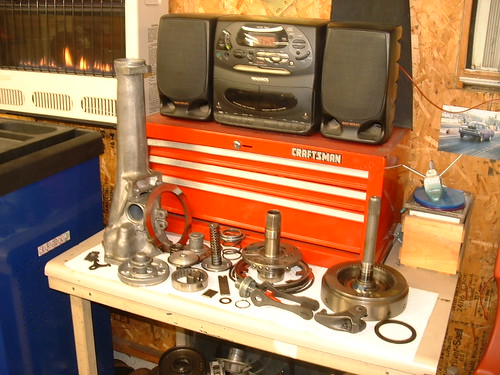
Here's some dirty parts:
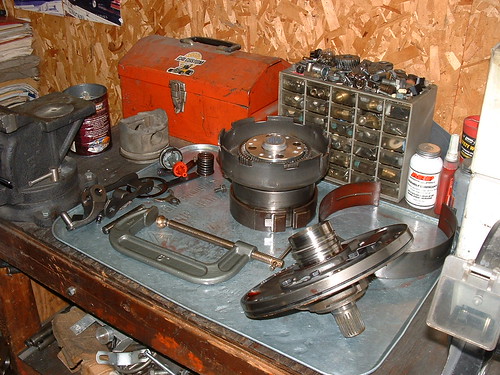
Found a bolt in sprag & a 3.8 lever (the 5.0 lever was sooo yesterday), that was nice:
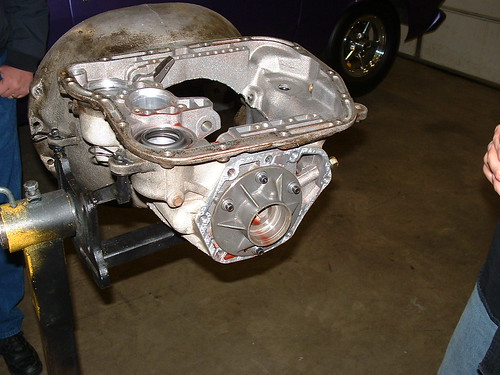
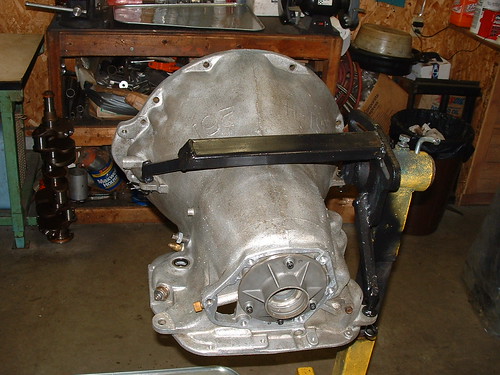
Got the case cleaned up. Not the cleanest I've ever gotten a case but it was the best I could do with the time I had:
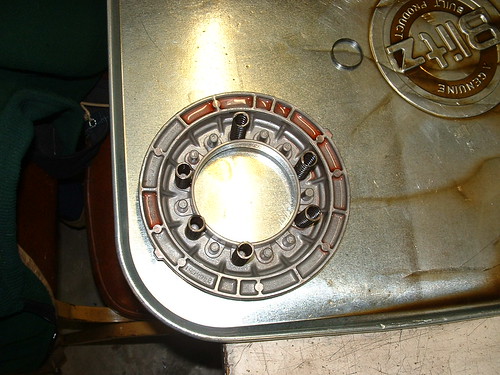
Only six springs where we expect to see around twelve. I liked the way it shifted, so we left it with just six:
Stack of clean parts:
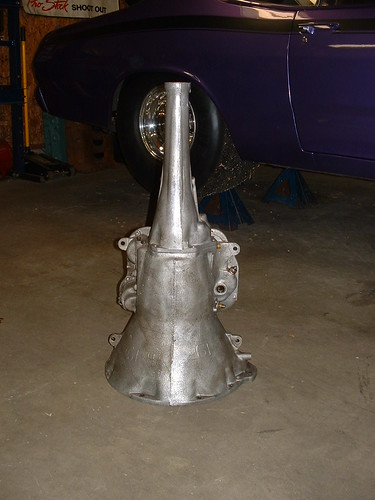
Just showing off my friend's homemade trans stand:
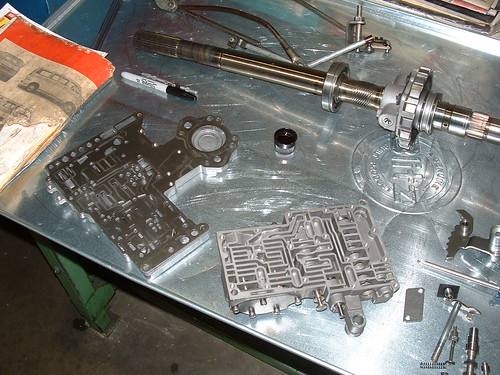
Got the valve body cleaned up, made a few modifications, and ready to go back together
The servos and accumulators are back in and ready to go:

Clutch packs, drums, sun shell, and planetary gears are all back in:

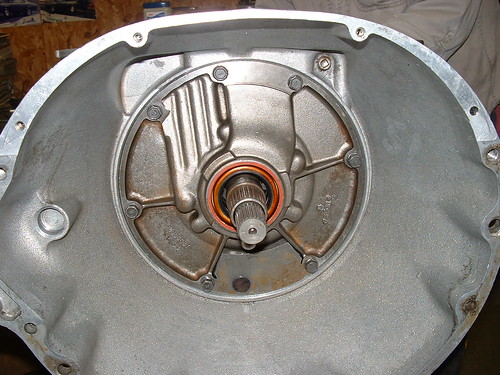
Pump is back in with a new seal and a new pump / convert bushing for the new converter:
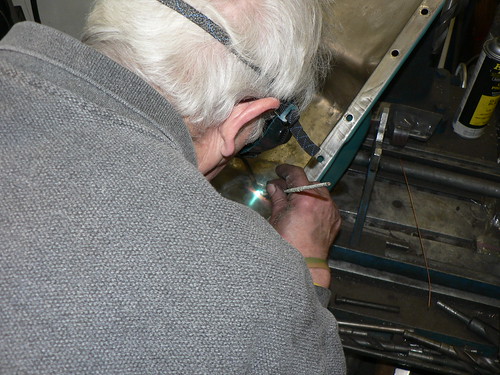
Correct style rear seal. My friend builds mostly race transmissions and doesn't use these so I had to pick that seal up. We used a connecting rod to go around the seal / bellows so that we could knock it in. Worked like a charm:
Valve body and filter installed:
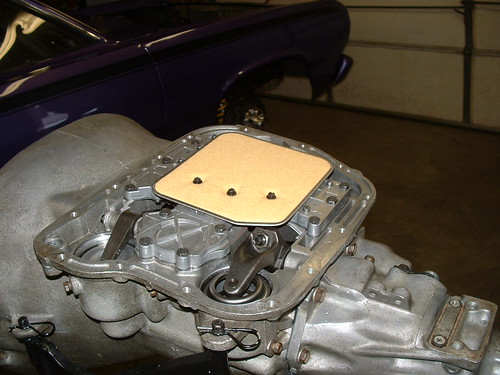
Going to clean up and paint the pan when I get home so that I don't accidentally scratch it while transporting it before I even get it installed:
One step closer.
Here's some dirty parts:
Found a bolt in sprag & a 3.8 lever (the 5.0 lever was sooo yesterday), that was nice:
Got the case cleaned up. Not the cleanest I've ever gotten a case but it was the best I could do with the time I had:
Only six springs where we expect to see around twelve. I liked the way it shifted, so we left it with just six:
Stack of clean parts:
Just showing off my friend's homemade trans stand:
Got the valve body cleaned up, made a few modifications, and ready to go back together
The servos and accumulators are back in and ready to go:
Clutch packs, drums, sun shell, and planetary gears are all back in:
Pump is back in with a new seal and a new pump / convert bushing for the new converter:
Correct style rear seal. My friend builds mostly race transmissions and doesn't use these so I had to pick that seal up. We used a connecting rod to go around the seal / bellows so that we could knock it in. Worked like a charm:
Valve body and filter installed:
Going to clean up and paint the pan when I get home so that I don't accidentally scratch it while transporting it before I even get it installed:
One step closer.
![]()

